How to Turn On the Camera Grid and Level on iPhone for Better Photos

Wonky horizons and awkward framing are the two things that most often spoil an otherwise good photo.
Two small Camera settings fix both: the grid helps you compose, and the level tells you when the phone is straight.
What does Camera grid and level do?
The grid lays faint lines over the camera view, dividing it into thirds so you can place your subject well. The level adds a line that turns yellow when your iPhone is perfectly straight. Neither appears in the photo itself.
Takes: 30 seconds · Works on: Any iPhone (Level needs iOS 17 or later) · Cost: free, built into your iPhone
Where to find it
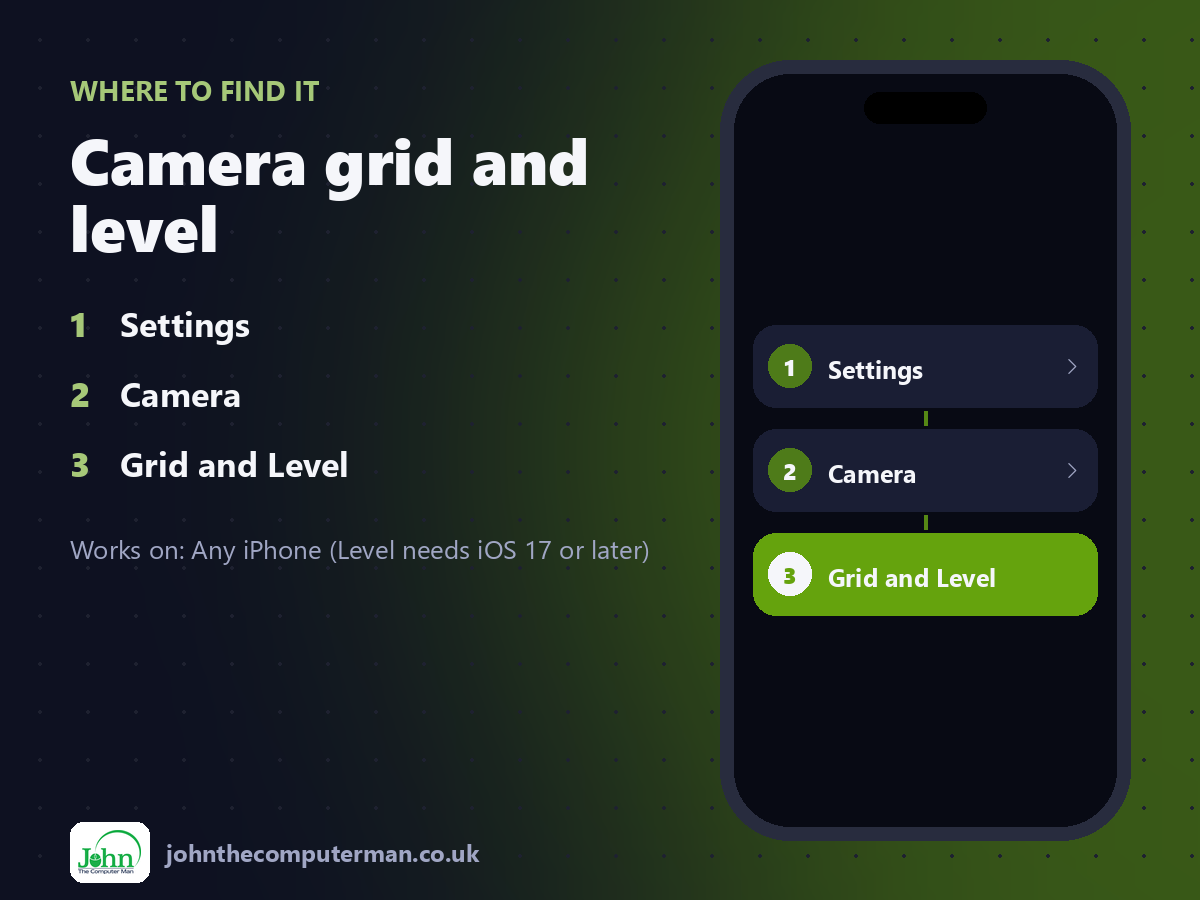
Settings > Camera > Grid and Level
Camera grid and level: step by step
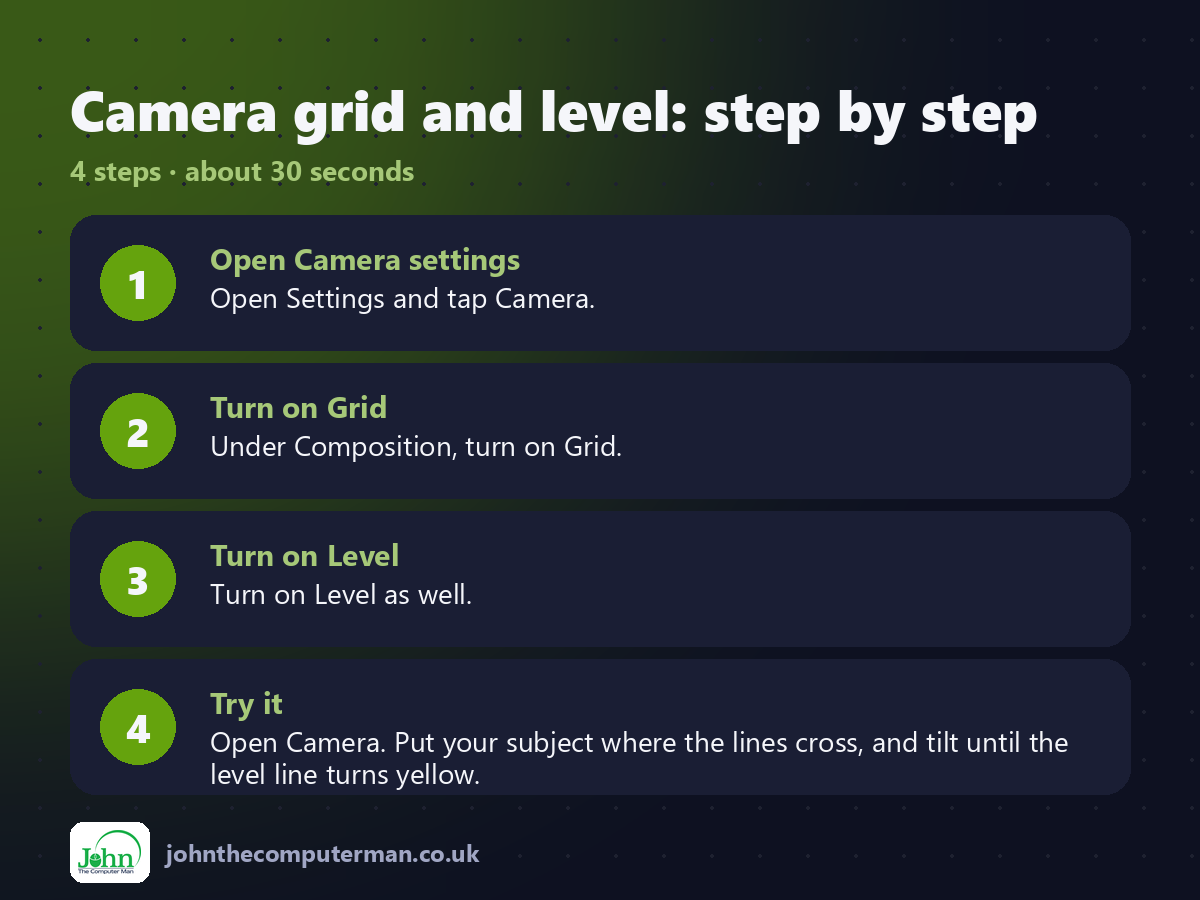
1. Open Camera settings. Open Settings and tap Camera.
2. Turn on Grid. Under Composition, turn on Grid.
3. Turn on Level. Turn on Level as well.
4. Try it. Open Camera. Put your subject where the lines cross, and tilt until the level line turns yellow.
2. Turn on Grid. Under Composition, turn on Grid.
3. Turn on Level. Turn on Level as well.
4. Try it. Open Camera. Put your subject where the lines cross, and tilt until the level line turns yellow.
Pro tip
💡 Put the horizon on the top or bottom grid line, not through the middle. It nearly always looks better.
More tips
• Turn on View Outside the Frame to see what's just beyond the edge of the shot.
• Tap the screen to focus, then drag up or down to adjust brightness.
• Use the volume buttons as a shutter for a steadier grip.
• Wipe the lens! A smudged lens is the top cause of hazy photos.
• Tap the screen to focus, then drag up or down to adjust brightness.
• Use the volume buttons as a shutter for a steadier grip.
• Wipe the lens! A smudged lens is the top cause of hazy photos.
FAQ
Do the grid lines appear in my photos?
No. They're only a guide on screen.
What is the rule of thirds?
Placing your subject on one of the grid lines or where they cross, rather than dead centre, for a more balanced photo.